You know what they say, "PRACTICE, PRACTICE, PRACTICE!"
I wanted to show you another example of the 6 BASIC STEPS. I made this arrangement right after I made the previous post's flower arrangement. One post would have been just too long if I had included both arrangements so I am doing a second post. I invite you to review the first 6 BASIC STEPS to FLOWER ARRANGING post if you have not read it. I'm not duplicating the helpful hints from that post. This post is more of a picture review of the steps. This little arrangement is made up of flowers and greenery I collected from my yard.
6 BASIC STEPS TO FLOWER ARRANGING

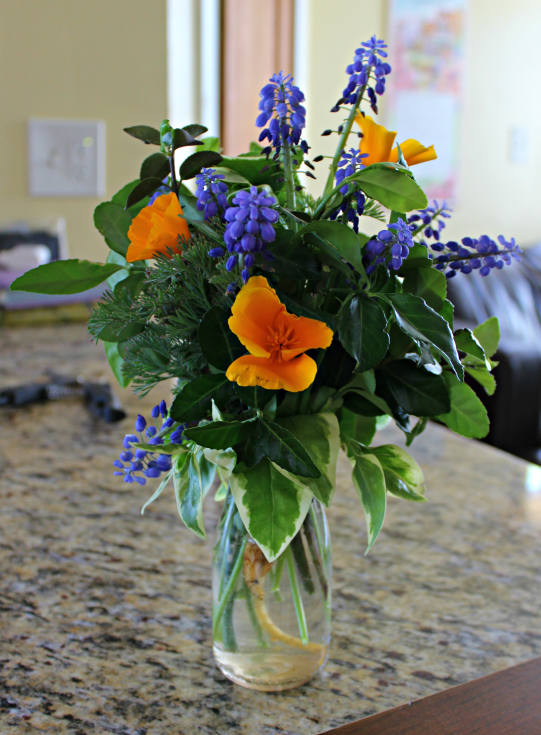
STEP 1 PREP...CHOOSE a container and GATHER flowers and greens.
My poppies and grape hyacinths did not have long stems and weren't very big so I chose this miniature milk bottle for my container. I pulled the poppies, root and all when I picked them. I wanted them as long as possible and I figured the root would help them stay hydrated. The bonus was interesting poppy leaves. Wintercreeper was my primary greenery and I used a little variegated vinca too.

2 stems of Wintercreeper
STEP 2 GREENERY

3 stems of Wintercreeper
I picked these stems of wintercreeper because of the multiple off shoots. The bottle neck is narrow so I didn't need much structure in the bottle but I loved the structure these branches give above the bottle.
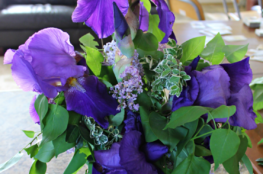
STEP 3 MAIN FLOWERS


Adding Grape Hyacinths
STEP 4 SUPPORTING OR SECONDARY FLOWERS

More Grape Hyacinths
POPPIES were my main flowers because I only had 3 of them. So placement really mattered with only 3. Grape hyacinths were the supporting or secondary flower because I had an abundance of them and could easily go get more if I needed to. Their placement wasn't as crucial. If the amounts of each flower were reversed their roles as main and secondary would be reversed too.
STEP 5 CONTAINER EDGE

Container Edge

Variegated Vinca

Finished Edge
STEP 6 CHECK THE BACK

Looks good!
DONE!