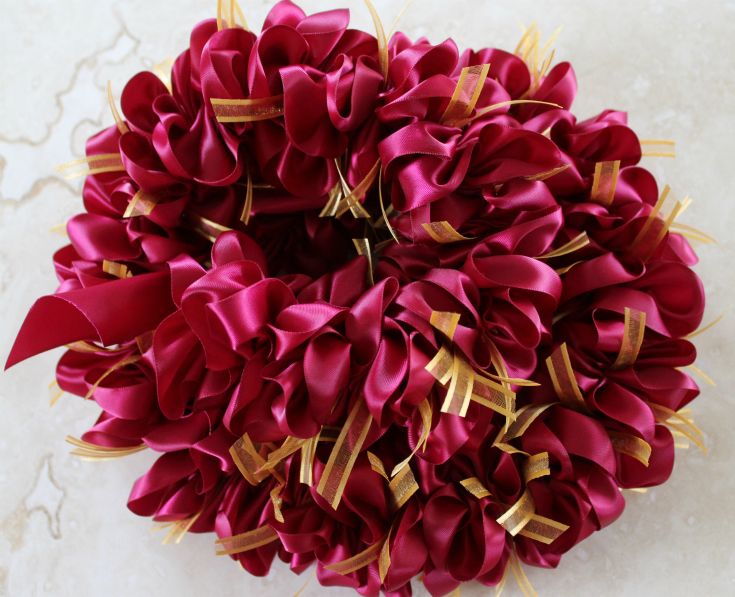
When it comes to CUSTOMIZING ribbon leis there are SOOO many POSSIBILITIES!.
This tutorial will build on How to Create a Ribbon Lei. I am going to jump right in and show you a few ways I’ve customize them.
NOTE: After making a few more leis and trying to keep better track of their final length and the amount of ribbon used I've come to the conclusion that 17 yards of ribbon makes about a 32-34" lei. This can still vary on how tightly you compact your ribbon on the thread and the thickness of all the things you are adding in. It's more like 20+ yard for a 36" lei. If you have bought exactly 17 yards and want a longer lei you still have options; don't compact the ribbon as much and/or leave longer ties and let the ties make up some of the length.
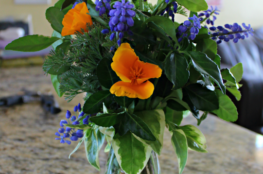
⇒Ribbon loops and points. These can mimic flower buds and leaves...OR just just give POPS of color. Be sure to cut these on a diagonal to keep them from fraying. I haven't noticed the organza ribbon having a problem with fraying but I have seen the satin ribbon fray. You might want to add these into your lei after the first 2-3 ". Those first few inches are around your neck and some ribbon points (like the organza ones) can be itchy.
SUGGESTED LENGTHS:
LOOPS 3.5"
POINTS 4".
Experiment and see what you like.


⇒Create a PATTERN for adding your loops & points. If you do a little math you can also figure how many of each to cut. Getting it all ready before you start makes the process go faster.
PATTERN:
A point every 6" or at every left edge.
It will look random but balanced. You can manipulate the look of the lei by twisting the base ribbon and pulling the point ribbon to where you want it. Doing this can help you create a more uniform look if that is what you want. The point ribbon was folded in half and then strung. In the picture it looks flat but it will fold over when the ribbon is slid down the thread.


PATTERN:
Black 1/8" ribbon left edge. Threaded on needle straight through the middle.
Orange 1/4" ribbon right edge. Folded in half and then threaded on needle
2 COLOR BASE LEIS
OPTION #1
Stack 2 ribbons directly on top of each other. Treated them like one ribbon. Follow the directions for a BASIC ONE RIBBON LEIS.


OPTION #2
2 ribbons stacked on top of each other but offset.
Mark the TOP RIBBON ONLY. Mark one side at the edge of the ribbon and next mark the other side of the ribbon a 1/2" in from the edge (3" up the ribbon of course) Overlap the 2 ribbons 1.5" and stitch your zigzag pattern from mark to mark. Each ribbon will hang out 1/2" over the other ribbon on opposite edges. You can adjust this amount to your liking just be sure your marks are adjusted too.
PATTERN:
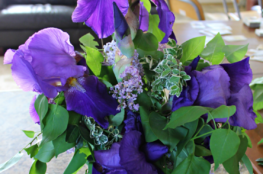
2 Colors, offset about 1/2".
A pink and yellow bud every right edge.
Green leaves at both edges.
I added the green leaves to the underside when I stitched. I decided to do it this way so the green leaves would be added to the purple side. I wanted them to standout next to the purple ribbon instead of blend-in next to the green ribbon. (A bit of a pain... I would try to figure out something different next time.)


April 25, 2020
I love the look of these leis. Thanks for the tips!
May 9, 2023
Thank you so much for your thorough tutorial and notes!!