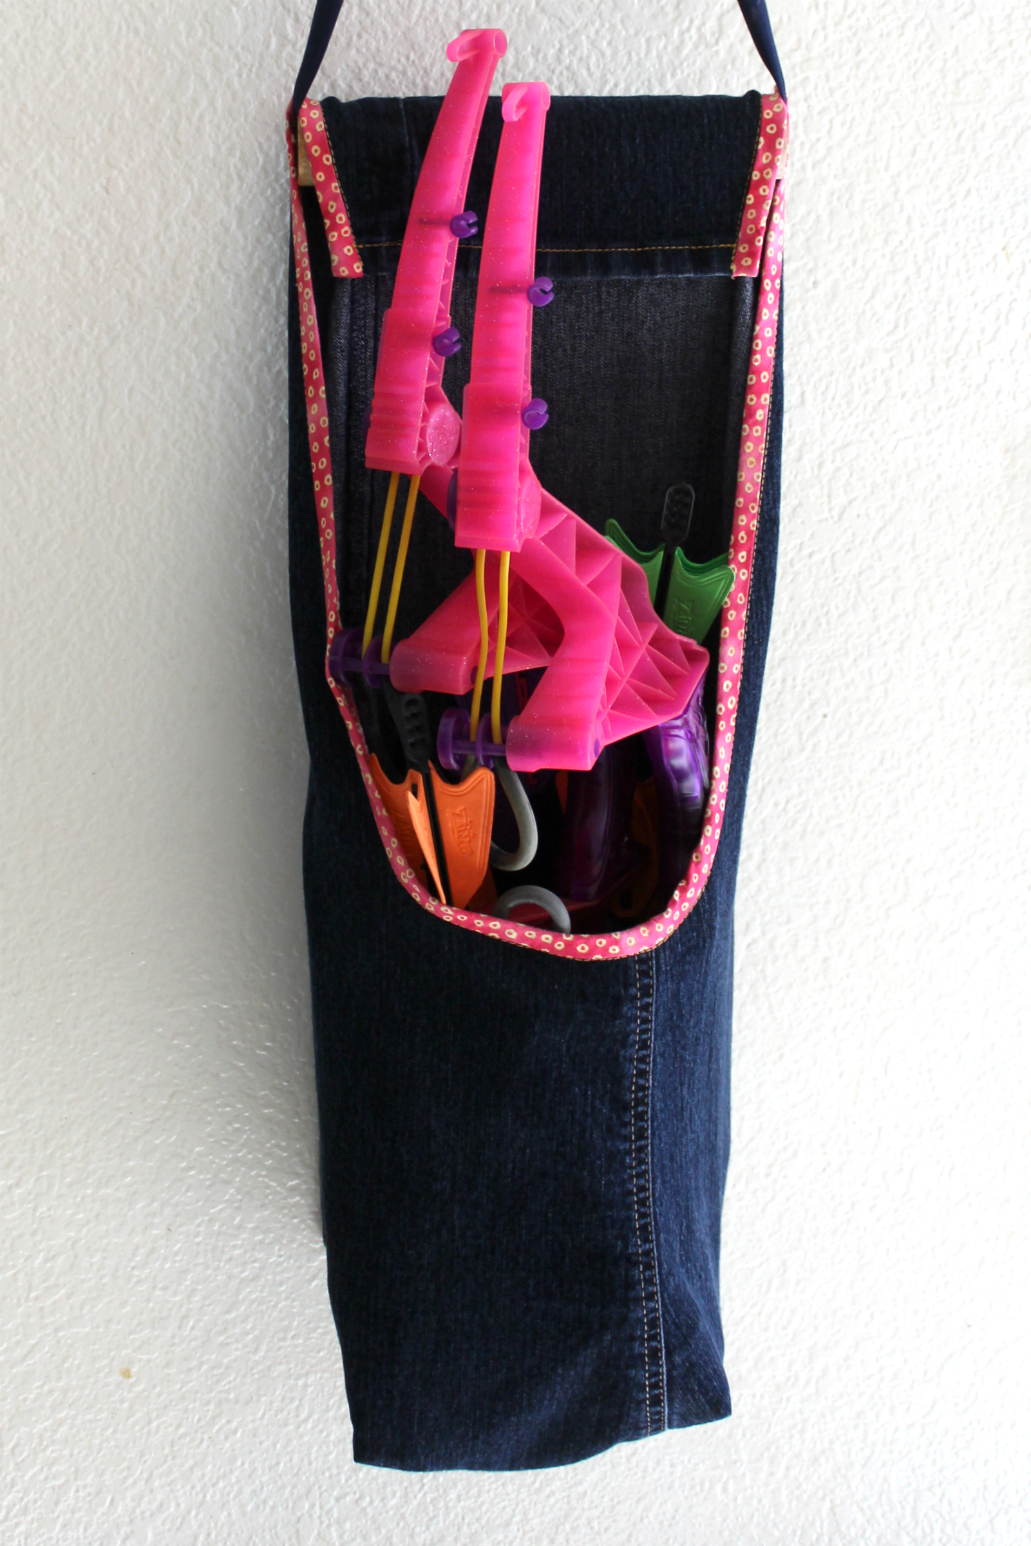
My GOAL in creating a HANGING BAG was to make a bag that could be hung, would keep its shape and hang open...
AND SIMPLE to make.
I VALUE SIMPLICITY... if you hadn’t noticed.
The bag size is limited by the thigh size of your jeans. You can pick the height or how deep the bag is and how long the part it hangs by is, but all this is ultimately limited too, by the length of your pant leg. FOR ALL YOU WANTING something different...Once you understand the PROCESS can modify it. YAY!!!!
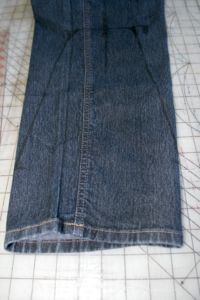
⇒LAY YOUR JEANS FLAT. Match the inseams at the ankle. You will have to open them up to the inseam to be able to cut them off close to the crotch.
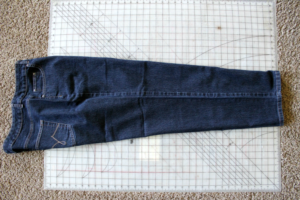

⇒FIND and MARK a centerline down the leg.
⇒DRAW a line perpendicular to your center line at the crotch. Cut the pant leg off on this line.
⇒DIVIDE the cut line by 4 and mark.
⇒DRAW a line parallel to the cut line using the same distance that is between the marks.


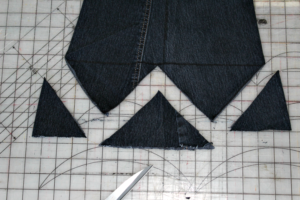
⇒DRAW W lines using the ¼ marks and the parallel line. Follow the picture. ADJUST as needed to make each line of the W the same length.
⇒CUT OUT.
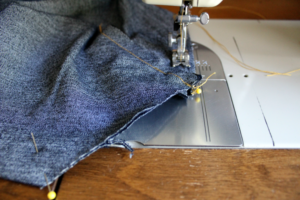
⇒TURN wrong side out & SEW the outer seams.
*I chain stitched the outer seams and then clipped them apart.

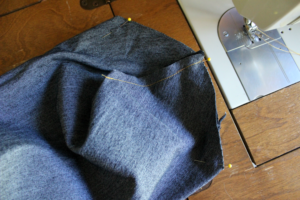
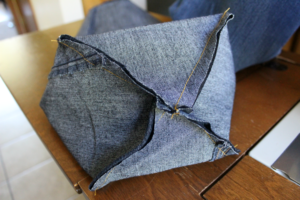
⇒Open the outer seams and pin them together. Pin exactly in the center of the seam. This will keep them matched up well and looking good. The center seam allowances should lay in opposite directions. This will help the bottom lay flat.
NOTE: If these seams are equal in length, the bottom should be square.
⇒STITCH & TURN right side out.
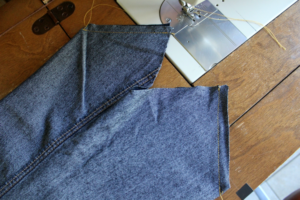
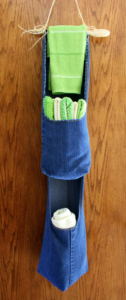
This is where you choose how your bag opening to be oriented. Do you want the bag to hang parallel to the wall OR on the diagonal?
PARALLEL will make the bag lay flat against the wall.
DIAGONAL will hold it out from the wall a bit more.
(See picture. The top bag is oriented parallel to the wall. The bottom bag is oriented on the diagonal.)
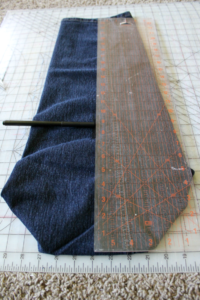
⇒MARK A CENTER LINE.
⇒DRAW YOUR OPENING.
-
Measure up from the bottom the height you want your bag. Mark a line across for the opening. Make it the length of a side of the bag bottom.
-
Measure down from the top hem the amount you want the top hanger to fold down and mark both edges of the leg.
-
Connect the end of bag openings up to the fold marks, then extend the line up through the hem. The line will wrap around to the back of the pant leg.
-
CURVE the corners to soften them.

It might feel like those last steps went quite fast. They really are
FAST and STRAIGHT FORWARD.
Below are 3 edge finishing techniques I used on these bags.

A simple ZIGZAG about a 1/4" from the edge, finishes this bag. I clipped it before I washed it so the fraying would be uniform.

I folded this bag's edge over and stitched it. I zigzagged the edge but could have used any stitch. It may fray some on the inside but the edge will stay smooth.