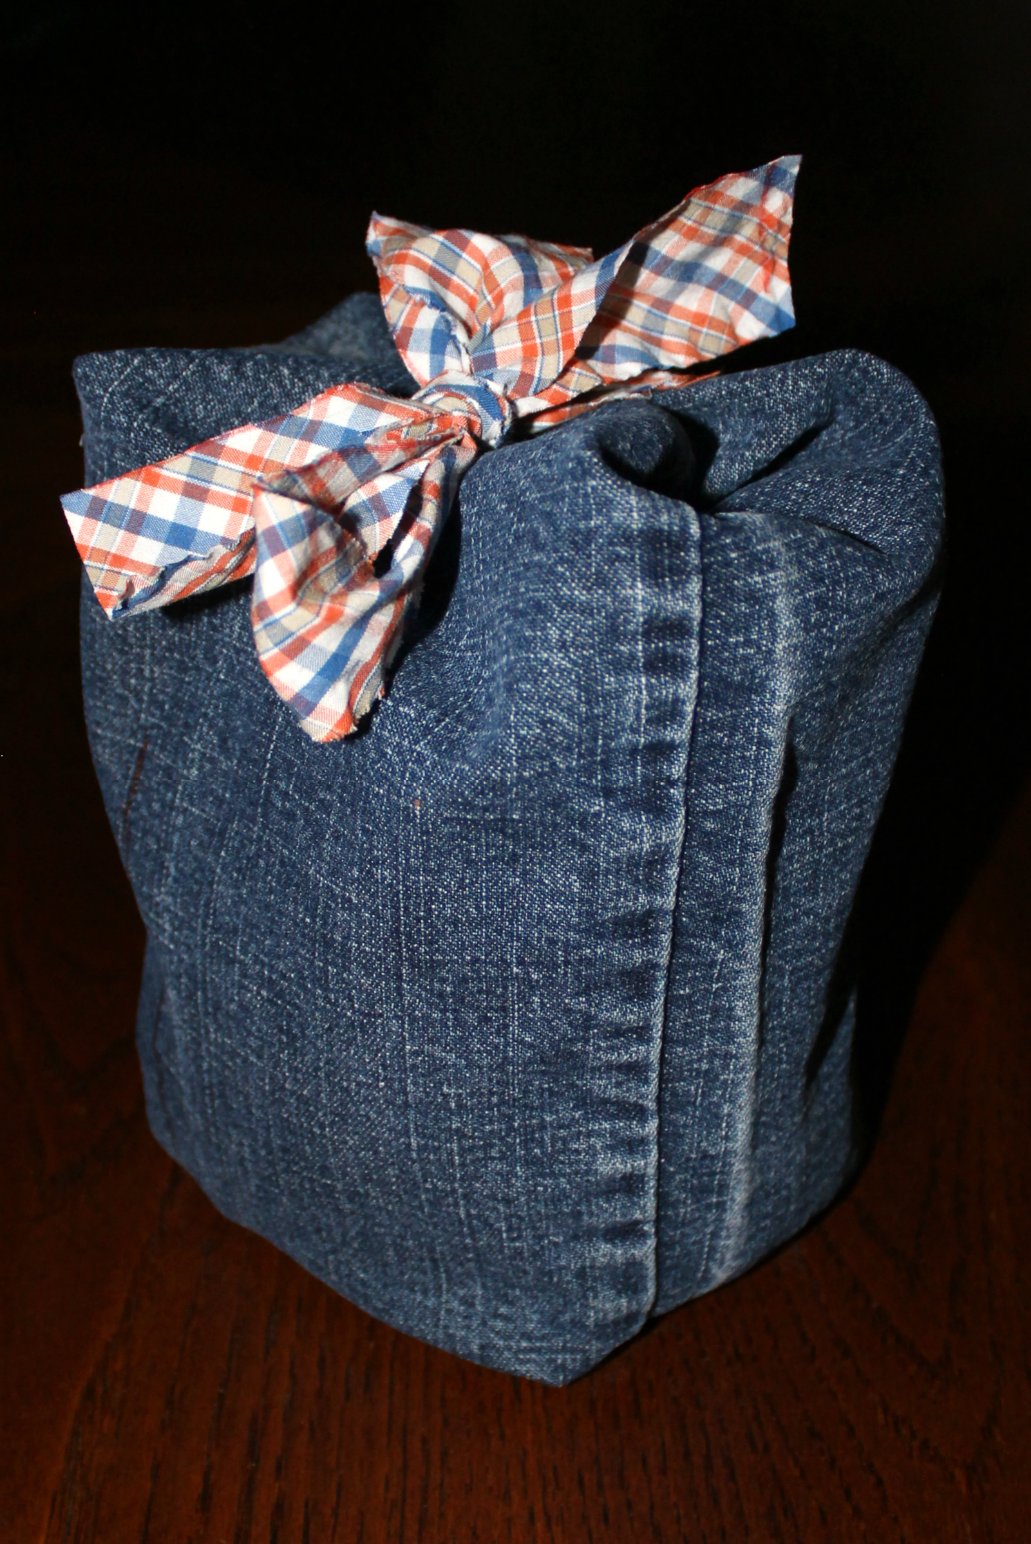
I’ve said it here and I will say it again...These sacks are
SUPER SIMPLE to make!
Supplies: Pant leg, Tie & Loop, Marker, Ruler, Scissors.
(Do I need to add sewing machine and thread?)
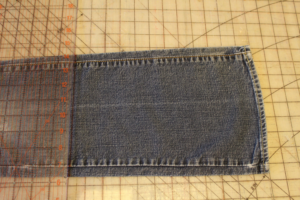
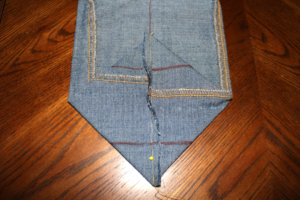
⇒Lay your pant leg out flat. The pant hem becomes the finished top edge of the sack.
⇒MARK and CUT your line. Try to make it as square to the pant leg as possible.
DETERMINING SACK SIZE
A 10” piece of pant leg will make an 8” sack which will give you about 5” of storage when closed.
10” pant leg - 2” bottom gusset = 8” height
10” pant leg - 2” bottom gusset - 3” top closure= 5” space.

⇒Mark the side lines a good 4” up from the bottom on each side. Marking this line makes it so your sack has a square bottom.
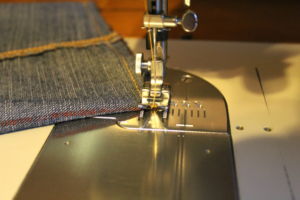
⇒SEW across the BOTTOM.

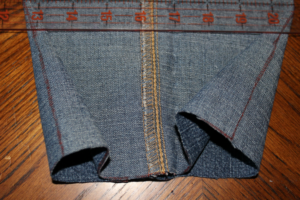
⇒ ADJUST YOUR pant leg tube so that the seams are near each other in the center but not directly on top of each other. Staggering them slightly makes the bottom seam easier to sew AND keeping the seams near the center keeps them out of the gussets...also making it easier to sew.
NOTE: you may want to square up the bottom line again...If the pant leg flares and the bottom line doesn’t match up, it will be easier to sew if you square the bottom off again.
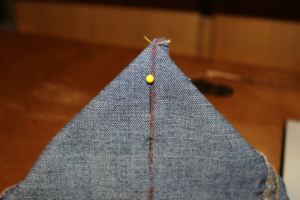
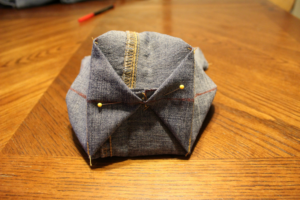
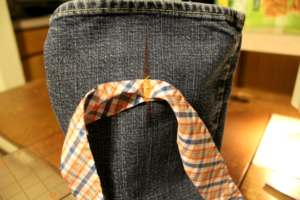
⇒PIN & SEW the GUSSETS. This may seem intimidating because they look so cool but they are simple!
1) Pin the bottom seam and marked side line together.
2) Measure along the bottom seam the depth you want your gusset (like 2” in the below example).
3) Mark the seam (ex. is 2") that runs perpendicular to the seam you have pinned. Your gusset is triangle shaped.
4) Stitch on the line you marked.

DETERMINING GUSSET SIZE FOR A SQUARE BOTTOM:
For a square bottom, measure the width of your flattened leg and then divide it by 4. The number you get is the depth of your gusset seam at it’s widest point AND the length it should be. Both gussets should be the same...in length & width.
EXAMPLE: My tube width is 8” laying flat. 8” divide by 4=2”. Each gusset needs to be 2” long and 2” at it’s deepest point.
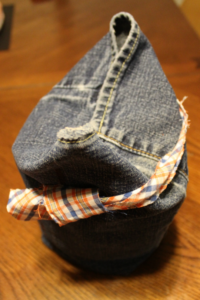
⇒SEW/TACK on a 1.5” loop and 20” tie.
The 1.5” is the finished length of the the LOOP. I start out with 3.5-4” piece, fold it in half and then tuck under the edges (or not) and stitch it in place.
Find the center of the 20” TIE and tack it in place.

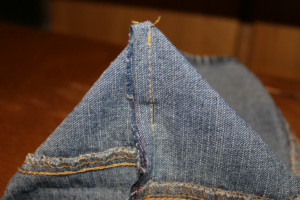
⇒TACK the GUSSETS to BOTTOM seam.(OPTIONAL)
Bring the ends of the gussets together at the center of the bottom seam and tack the gusset seam allowance to the bottom seam allowance.

Placement: I center the loop and tie on opposite sides about 3” down from the top.
Material: You have many options for these two pieces. I have used raw pieces of fabric about an inch wide. I have also made nicely finished strips of fabric. Ribbon is pretty and easy...cording works too.
WASH to remove markings & your DONE!
You have CLOSURE OPTIONS!
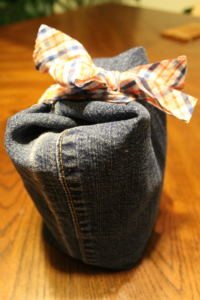
Fold in the 2 sides without the loop and tie, then fold the sides with the loop and tie down. Catch the loop with the tie and over the top tie the tie. This way creates a carrying handle with the tie. This is an uncommon method that I really like.
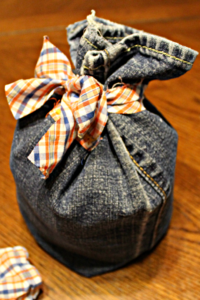
Run the tie through the loop and bunch up the top and tie it. This is the common method.
IF you'd like another SUPER SIMPLE PROJECT make a
HANGING BAG (about here) and TUTORIAL here!