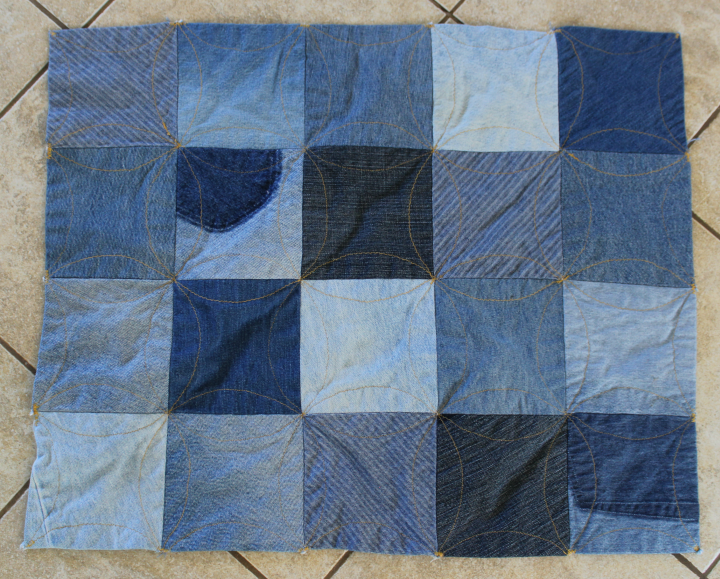
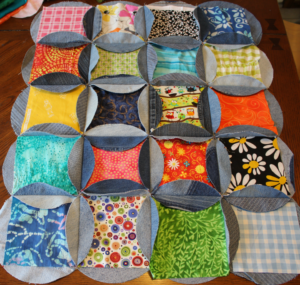
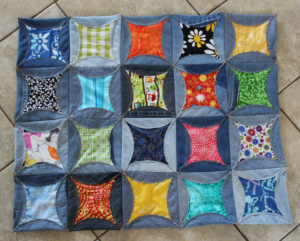
Cut fabric for the square centers the size of your template. Experiment with different layouts. Take pictures so you can easily remember old options and still experiment with new ones. I like to lay a quilt on the floor so I can get a good look at it from many angles. This process might take me a couple days... just because I want to be sure I like it. When you are set, pin the fabric in place. My preference is to use a safety pin in the center of the square. Straight pins tend to poke while topstitching. (I remembered this when I was getting poked topstitching.)
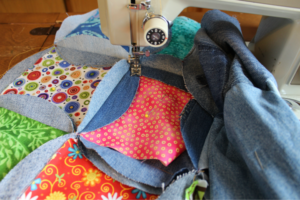
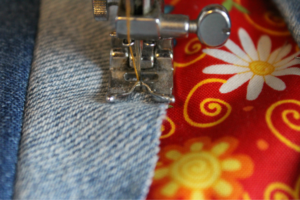
⇒TOPSTITCH the circular edges of the denim down.
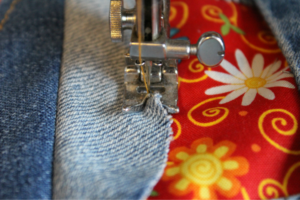
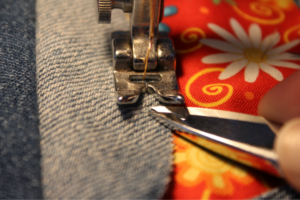
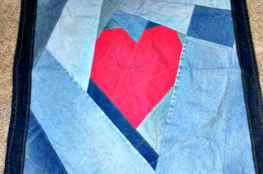
As you begin topstitching, be sure the colored fabric is CENTERED WELL in the pocket. Plan a stitching path a few steps ahead of where you are. If the curved denim starts to catch in the presser foot and buckle, STOP SEWING, sink the needle and lift the presser foot. Smooth it out and begin again. A pointy object can help hold the denim in place as you sew the curves. (below) WHEN FINISHING THE OUTER EDGE, I adjust to a large zigzag stitch and make sure I sew corners and where seams come together well.
TOPSTITCHING: I have used both a straight stitch and a zigzag stitch. A straight stitch has more of a chance of pulling out when frayed but the distance from the edge and length of stitch can minimize the possibility of that. It's not very likely to happen.
Zigzagging completely over the raw edge is another option. I like to use a small narrow zigzag stitch about an 1/8” from the edge. I like the rustic look of the frayed denim after it is washed.
NOTE: This is the step that makes these quilts a challenge when you make a large one. Topstitching requires a considerable amount of shifting the quilt. One thing I found that helps deal with the bulkiness of larger quilts, when topstitching, is to construct the quilt in 4 quarters. Completely finish each quarter except for the seams that connect them. Next, sew 2 quarters together and topstitch that seam. Do that with the other 2 quarters. Finally, sew the 2 halves together. Topstitch the last seam through the middle. Rolling the quilt is the easiest way, I found, to handle the bulk while topstitching this seam.
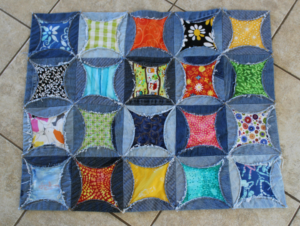
⇒WASH.
This will remove any marker and begin the fraying.